 Help Center
Send invitations
Once you've customized your event and sent a test invitation, you're ready to start sending invitations for real!
The process is exactly the same as sending a test invitation, except that you want to ensure Test mode is toggled off in the bottom-left on desktop.
First, add your invitations individually or import them in bulk — they will be saved in an Invitation not sent state until you're ready to send them.
Send individual invitations
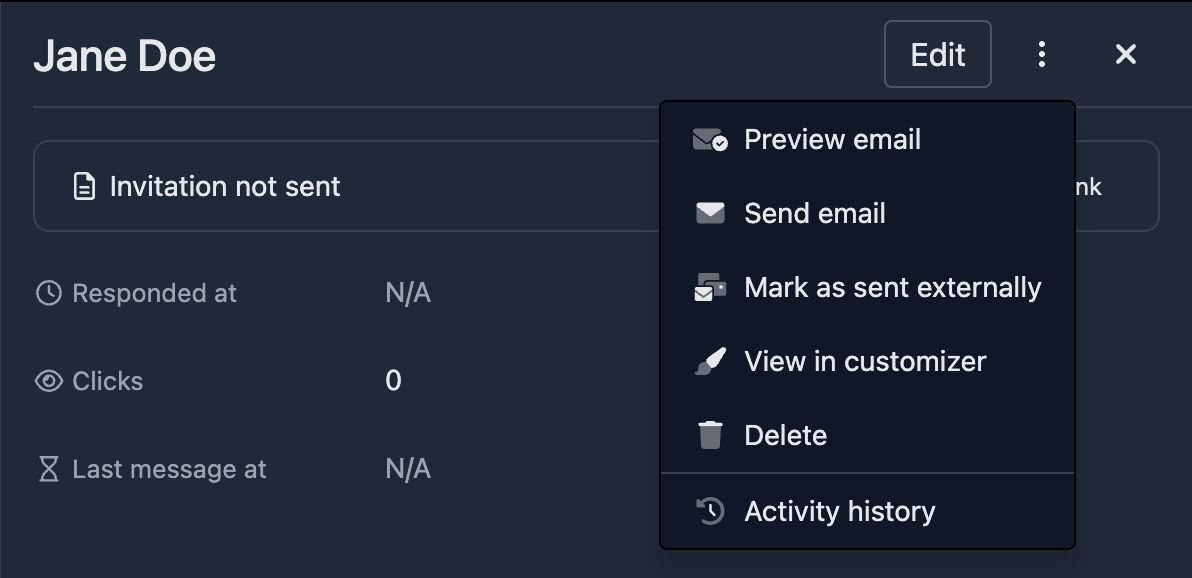
Head to the Invitations section from the menu. Click on the person whose invitation you wish to send. Click on the three-dots menu (⁝) in the top-right of the person's summary view and then on Send email:
Send invitations in bulk
Head to the Invitations section from the menu. At the top of the list people is an envelopes icon. Click this to open the dropdown and then select Send invitations to send all unsent invitations at once.

You can also filter the list first, if you wish to send invitations to a subset of people.
Note: For large invitation lists, sending may take some time. Tito processes these in the background to ensure reliable delivery.
Track responses
After sending invitations, you can track their status:
-
Sent: The invitation has been successfully delivered to the recipient's email server
-
Opened: The recipient has opened the email (if they allow tracking)
-
Attending: The recipient has clicked through and RSVP'd "yes"
-
Declined: The recipient has clicked through and RSVP'd "no"
-
Bounced: The email could not be delivered
You can view these statuses in your invitation list, and see an overview on the event dashboard.
If you don't receive a response within a set period, you can optionally send reminders in the same way as sending invitations.
Next steps
This marks the end of our quick start guide, carefully designed to unlock the 20% of knowledge that will get you 80% of results. Congratulations! 🎉
To dive into more advanced features, head back to the homepage to browse by topic, or use the search option above.
